The Importance of Radii
We’ve written about using ‘nodes’ with 3D objects made from wood before, but suggested it may not work for acrylic because it is more brittle and tends to be less forgiving.
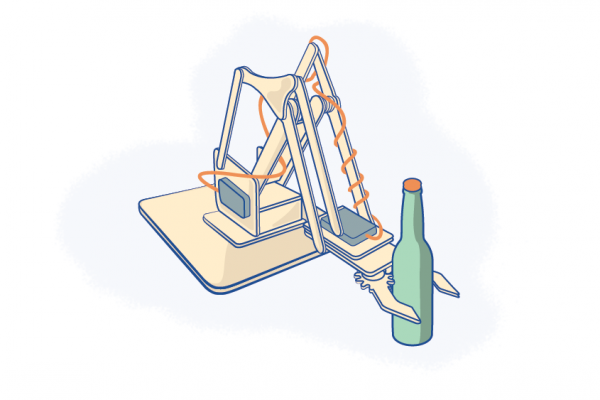
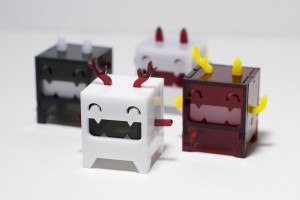
However, after working with Drownspire to develop their Vambit toy into a product for a giveaway at Makerfaire, it soon became apparent that you can successfully use nodes when making with acrylic.
Nodes in Acrylic: Two tricks to getting it right
Firstly the nodes need to be a bit smaller; something in the realm of <0.15mm/0.006″ on each side. This means they won’t cover the same range as when used in wood but they still remain a good option.
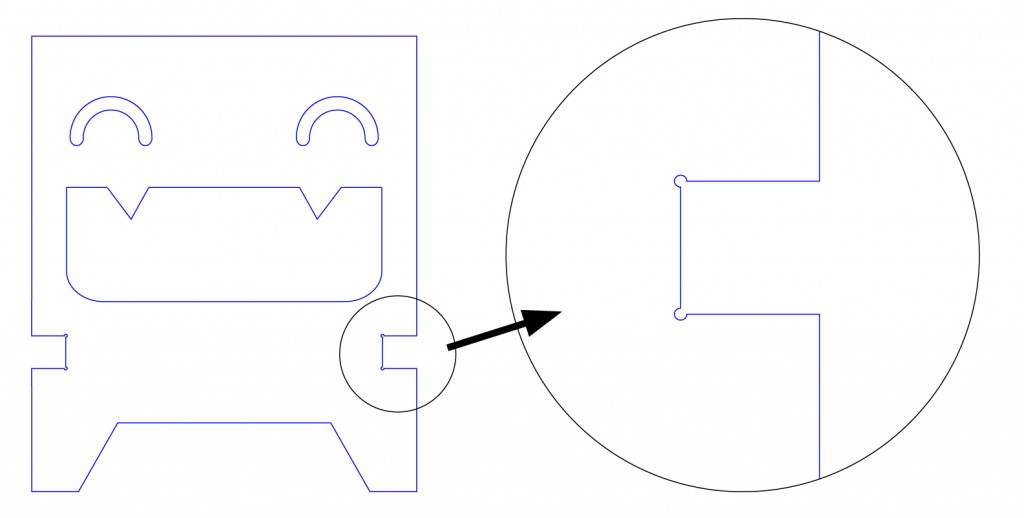
Secondly, how you treat the end of the slot is the key. If you have a sharp corner, which is typical in a laser cut slot, the acrylic will always fracture at that point. See this example:
Effectively a sharp corner is creating a weak point in the acrylic. Not such a good thing when this is an important structural part of the design! A small radius in that corner can do wonders to transfer the forces from one face of the hole or slot to the other, and reduces the risk of the material splitting at the corner.
How large should they be?
The larger the radii the stronger it will be so you will need to make an aesthetic decision on how big you can go. On the Vambit the radii was tiny, at just 0.26mm, and it was enough to make a noticeable difference. We suggest aiming for 0.5mm and greater if your design will allow it.
Where to place the nodes
Another trick to keep in mind is putting the nodes on a part of the design where you can guarantee the length. That way you don’t need to bet on the thickness changing and the range of variation is a lot smaller. This occurs when you have 2 edges that are cut by the laser that are the friction edges. This works if you are using tabs but is not necessarily the case if you are using a slotting joint.
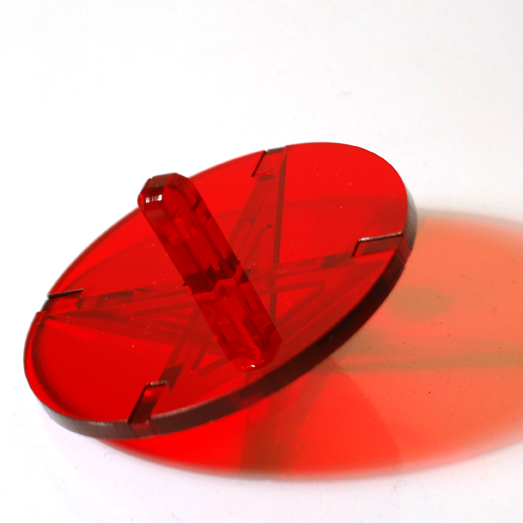
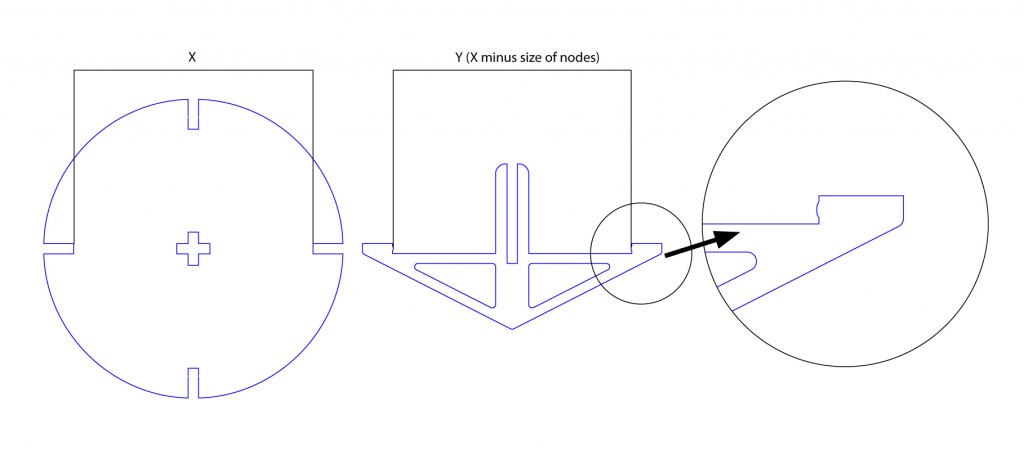
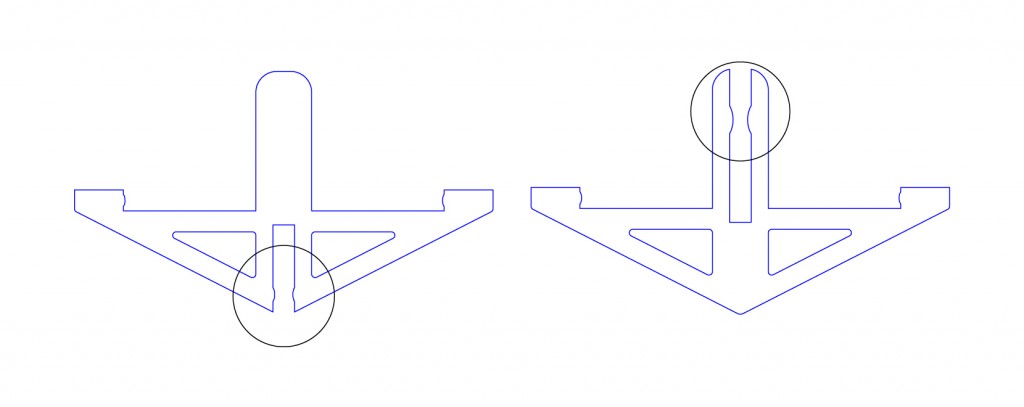
For example, in the design of this spinning top Dan put the nodes on the tab as opposed to on the slot.
The tabs on the triangle parts fit into the slots on the circle part. Dimension X and Y will be the same each time as cut by the laser, therefore he put the nodes on these parts. Had the nodes been positioned on the slot for the handle (as in diagram below), the friction points would be against the surface of the material, a part that can vary if the thickness varies.
Other types of connections
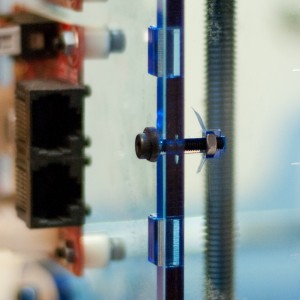
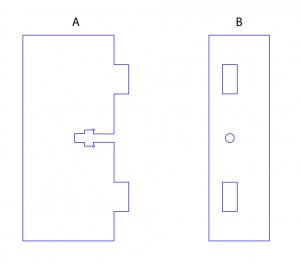
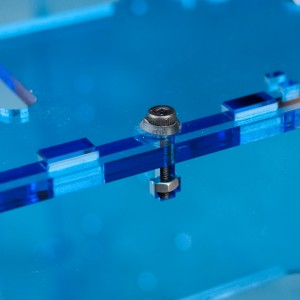
An alternative joint is the t-slot joint which is popular with people who make more engineering-type products. This joint uses tabs to locate pieces then a t-shaped slot with a captive nut. This type of joint is great. You can slightly oversize the holes to allow for oversized material and the bolt will hold it snug together. If you use the radii on the corners of the cut outs you greatly reduce the risk of cracking the acrylic by over tightening the bolt.
If you want to go another step, rubber washers can also reduce the chance of over tightening and maintain tension in the bolt so it won’t come undone through vibrations etc.
Hopefully these tips will help you with your next laser cutting project, or perhaps give you the extra tools you need to finalize a design you’re working on.
We’ll be interested to hear your experiences using radii too, and any other advice you might have for people wanting to make 3D designs using acrylic. Let us know below!
This handy advice from Dan Emery was sourced from the Ponoko Support Forums.
