guest tutorial from Edgar Castelo
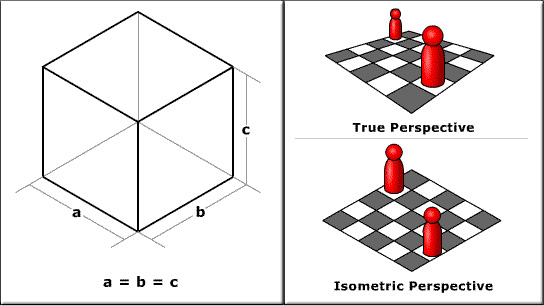
Isometric perspective is a way to illustrate 3D objects using the object’s exact dimensions. It’s different from true perspective, because in true perspective things look smaller/shorter with distance.
Although you probably wouldn’t send in an isometric file in for digital making, it’s a great technique for technical renderings of your 3D designs.
Design Made Easy With Inkscape Vector Tutorials
Everything you need to know guide to Inkscape vector tutorials.
Ponoko fan and avid Facebook “liker”, Edgar Castelo, created a tutorial for doing isometric drawing with Inkscape and has given us permission to share it on the blog. Although this tutorial uses Inkscape, it works well for any vector software. ::
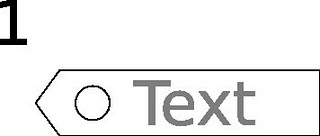
Let’s pretend we want to figure this piece, with text, and a hole:
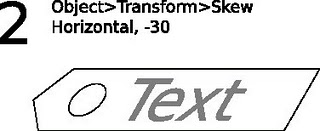
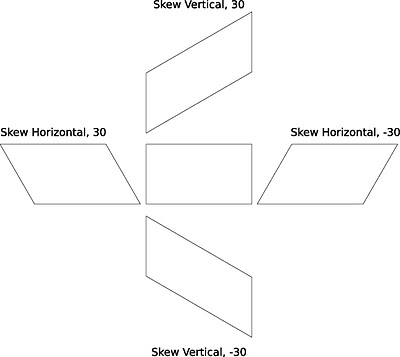
As you want to place the object, you Skew it, with various angles, here, it’s -30º;
Then you want to know if your picturing a transparent or opaque piece.
Transparent, you just make all lines visible, but if it’s opaque, you just want to see the visible ones.
So Fill the object, 255, 255, 255, (white), in this case.
Remember to put the text in the first, upper layer.
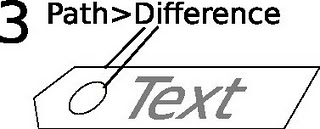
As for the hole, you got to make that part, non-existent, by doing Path>Difference:
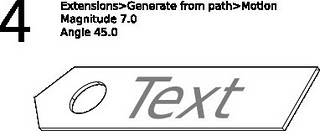
And now for some Magic, an operation called Motion.
Here’s the thing, with some edges to be worked out, but you have the makings of an Isometric Drawing, here:
As for how to figure out the values for the object’s orientation in space, here’s a chart for them:
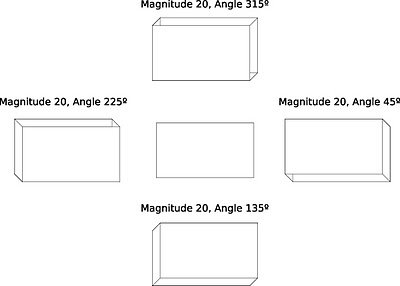
Here’s the angles for a front facing solid:
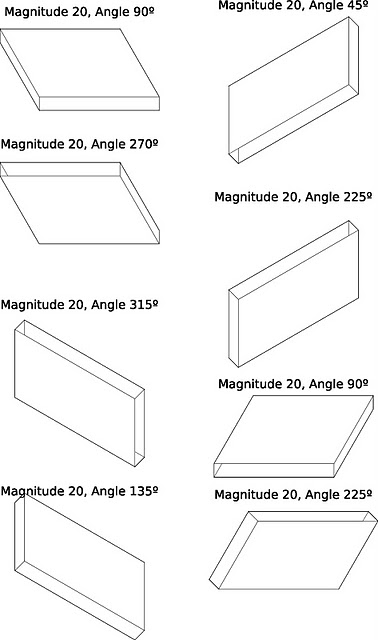
And, finaly all other Object orientations:
Notice the wrong lines, on some solids?
You just have to select the “face” that should be up front, and push that face to the top level.
